Pages

Showing posts with label Front Door. Show all posts

Wednesday, June 6, 2012

Bench it // Outside love


I can almost guarantee that if I can't find Huynh, he is outside working on the yard. He built this bench (why yes, those are Ikea planters turned upside-down!) for our front patio which instantly gave it an uplift. He also planted our garden, planted some rose bushes and completely overhauled the back patio. Gatsby seems to enjoy the sweet orange tree - he regularly buries his bone right next to it - and I'm excited about the veggie yield. If only we can get the hot weather to cooperate, perhaps we might enjoy a glass of wine on our back porch - for now, I look at it from the comfort of A/C.


Wednesday, February 22, 2012

Pop locking

I guess I should title this post "door knob love that turned to woe that has turned back to love" but I figured that was too long of a post title, dontcha think?

When we first painted the door red, I took the opportunity to also paint the hardware. At the time, all we knew was that we didn't like the brass hardware and that we had oil-rubbed bronze paint on hand so why not try a spray job? We figured that if it ended horribly, we could always toss it out and get a new knob.


Five months later, it ended horribly. 

Not only did the paint chip where the key entered, it also just plain fell off every where else. Not quite the "welcome to our home" look we desired.


So we bit the bullet this weekend and got brand new locks. They are rather hefty to lock and unlock and just look so much more spanking pretty.

I love when quick fixes spruce up your home two fold. Happy hump day.

Monday, October 31, 2011

Scary!

I had big plans for this wreath.


I bought the form at Michael's and hit up the Dollar Store for 3 boxes of 300 brass thumb tacks. I mean, SURELY 900 thumbtacks would be more than enough to cover this wreath... the duel holiday, just by changing out the ribbon, bright, shiny wreath. So when 900 tacks only covered half of the form, I was off to the Dollar Store for 3 more boxes, only to find out that they stopped selling brass. Like wha?

Silly me also waited until Friday to plan for Halloween so I frantically went across the street to Michael's for a quick wreath plan B.


I grabbed yet another form - I'm not giving up on previous brass spectacular that easily - a black feather boa, black foam board, and black glitter. I grabbed the orange ribbon that I had on hand and went to town wrapping the form, after spray painting it black first just in case there is some green show through (which I can already see there is. Darn.).


I cut out the bats from the foam board and used the old school glue stick and sprinkle method to bedazzle. Those were then glued directly to the ribbon using spray adhesive.


It's definitely more cute than scary but for the self-inflicted time crunch, it works. Bring on those trick-or-treaters! Happy Halloween, y'all.

Wednesday, October 26, 2011

Pumpkins!

I finally got around to "carving" our pumpkins this year! We will be bumming in Wichita Falls this weekend, visiting the fam, so I wanted to go ahead and bring a little bit of spook to our nha before crunch time so I grabbed these beauts at our local grocery store.


Woo-hoo. Gatsby was thrilled.


Do you sense a trend with Gats watching me work? He is such the follower. After awhile, he did get bored with my taping, painting, goodness and did go back inside (only to go through my overnight bag from the bachelorette party, take out the goodie bag, grab the peanuts, and make a run for it).

While that excitement was going on, I taped off baby pumpkin with a stripe - keeping it simple - and daddy pumpkin was adorned with... a whole lot of blue tape.


Okay, okay, I drew out Frankenstein! Scary.


I took an exacto-knife to my sharpie rendition and peeled off the paintable part. I did pierce the pumpkin on more than one occasion but did not go all the way through.


After I went to town painting (with MSL Silhouette, of course), I pulled off the tape to reveal... paint seepage.


Not a lot, and if it wasn't almost 10 before I finished this project, I might have stayed up later to wipe off the still very wet paint. Oh well. More spookier, perhaps? Gives it character? Either way, 5 more days until candy fest!


I think we need a wreath.

Friday, October 7, 2011

Finally

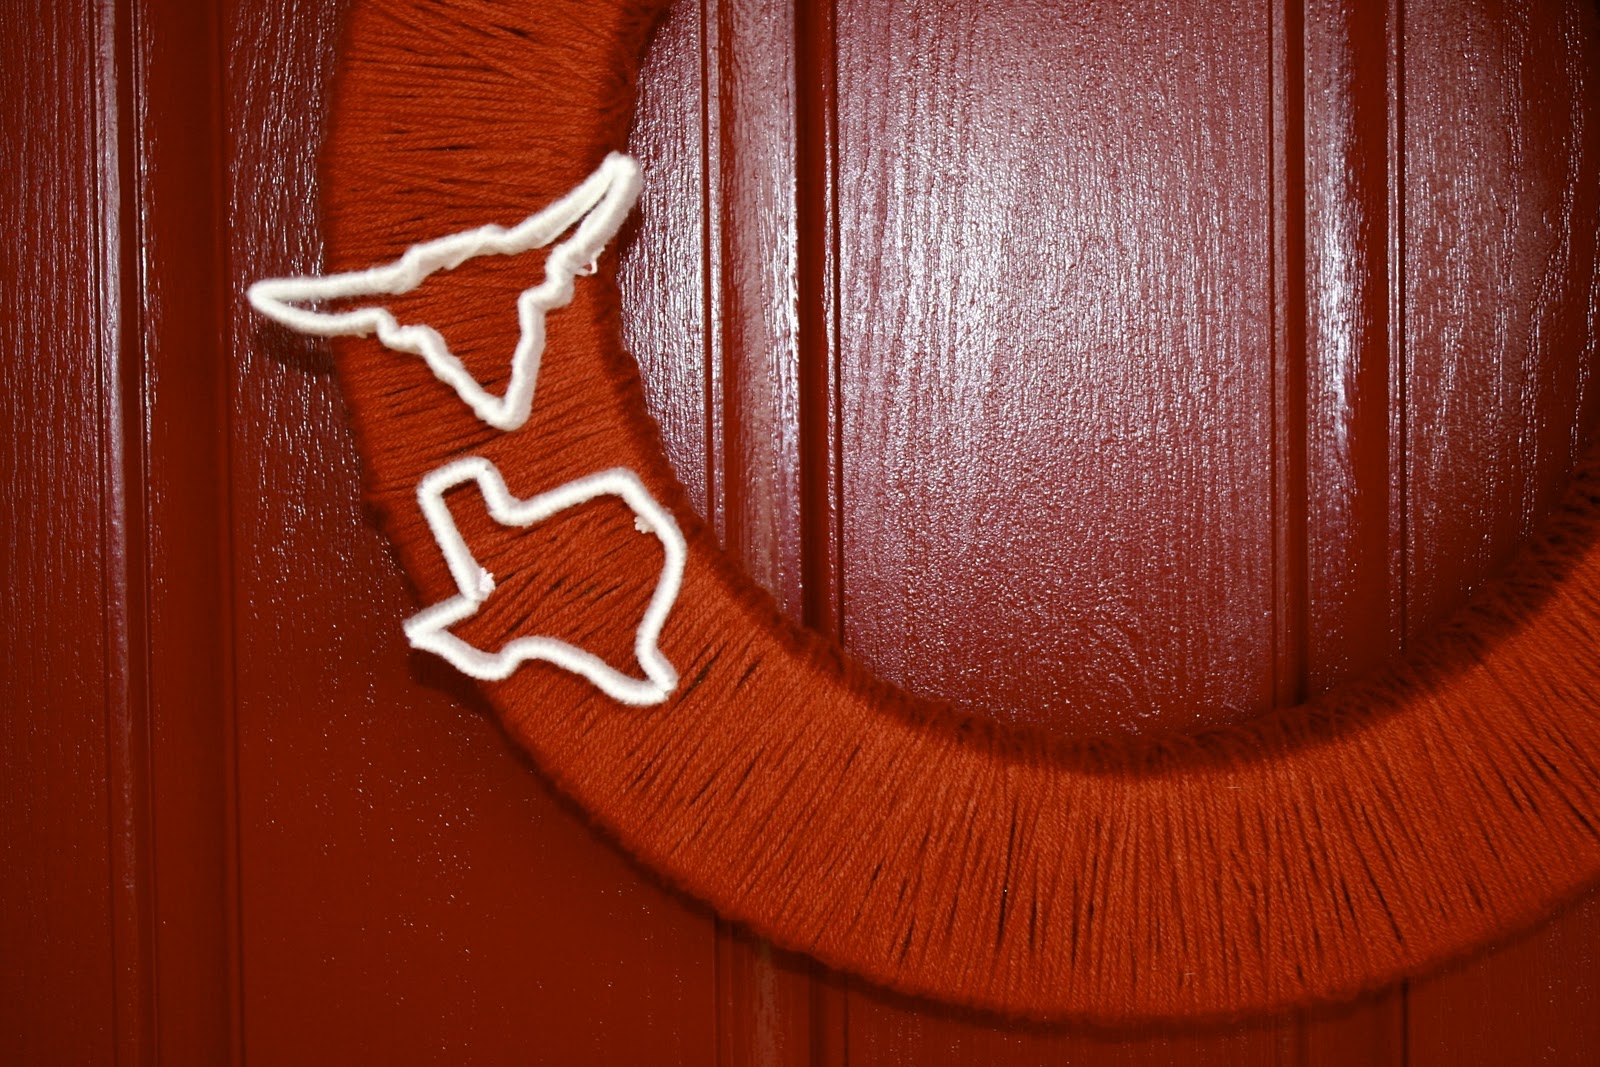
It took about 20 days of lack of motivation, sweeps week, and Huynh cramping (since he is responsible for the actual wreath wrapping that takes a lot longer than one would suspect) but we finally finished the UT wreath!

And I'm left with two options.


I like the simplicity of sans-words; Huynh likes our school spirit loud and proud. Yes, it took a rather long time to wrap those letters and we should show them off but is it too much? Is just a longhorn and state too little?


Regardless, this project is really easy. We picked up burnt orange yarn and a wreath form from Hobby Lobby and the cookie cutters came from Sur La Table. We already had the white yarn since, ya know, we've become quite the pros at this type of wreath. Then, you wrap.


We found that it's much easier to tie the cookie cutters on the wreath of you string the wreath color yarn through the backside of the cutter while you are wrapping. This tie then blends in with the wreath itself making everyone none the wiser as to how they are attached to the wreath. 

I don't know... he might have me convinced that full blown is the way to go.


Frankly, I'm just glad to be done... and just in time for UT/OU weekend (we are planning on trying PW's beef tenderloin!). 

So, what else have we done to the door?
Do you like marking things off a list as done? Because I sure do.

Wednesday, September 28, 2011

Front Door Mat

It's finally here! I am so excited about this mat that I even ran to IKEA during my one-hour lunch - and for those who know ANYTHING about IKEA that making it through there in an hour is a feat in and of itself but then also adding in drive time plus a trip to Sur La Table for cookie cutters to wrap for the wreath and a drive through Jimmy John's to, you know, actually eat during lunch, I managed to make it back to work within an hour! Give or take... an hour. Close enough.

Nevertheless! I picked up a door mat on my run through IKEA with this project in mind.


I made my own stencil out using the font "School House Cursive" and taped off/covered the rest of the rug completely.


I had some Oil Rubbed Bronze spray paint left over from painting the hardware that I knew would show up, on this material, close enough to black.


I first tested the stencil on our fabric drop cloth and decided that I didn't mind the overspray so I went right to work. And, I absolutely love how it turned out.


So, here it is. Our beautiful red door, newly painted hardware, and a new rug. More to do still, but yet, another to cross off the list!
  • Paint front door
  • Find a bench
  • Revamp front door mat
  • Potted plants
  • Add a wreath

Tuesday, September 27, 2011

Don't Stop Believin'

Clearly, this blog title has nothing to do with the post but I still have Journey on the brain - did I mention we went to see them in concert?? - and so, couldn't help myself. We also managed to squeeze in family, a car wash, and painting the front door this weekend among other things. So which color did we choose?

Before we reveal, let's start with a before picture, shall we?


Brown, slightly scary. College door mat with a (which you probably didn't even realize this) a broken doorbell. Oh and chipping hardware!

We cleaned, vacuumed, and took all of the hardware off. Then we opened the can of paint and viola! RED!


To be exact, it's Behr "Chianti" bought at Home Depot. 


In some light, it looks really red and in others, burgandy. Today thought I saw some spots I missed that I saw at 4:00 p.m. that I definitely did not see when I painted it at 2:00 p.m. Ah, the glory of scattered light versus direct light.

Tomorrow calls for more touch up paint and a full reveal (that includes the new front door mat!). 


Just to recap...

  • Paint hardware
  • Paint door
  • Find a bench
  • Revamp mat
  • Potted plants
  • Add a wreath

Friday, September 16, 2011

Front Door Fix


I got excited about the front door make-over that I decided to jump the gun and paint the hardware first. Obvious choice of color: oil-rubbed bronze. I even made us a hook for the front door to hang the “soon-to-be-finished” longhorn wreath (pictures to come). Such a quick fix! 

Left to do?
  • Paint hardware
  • Paint door
  • Find a bench
  • Revamp mat
  • Potted plants
  • Add a wreath
We are off work today and busy organizing, pricing, and advertising for the garage sale tomorrow. Wish us luck. Have a great weekend!

Thursday, September 15, 2011

Front Door Make-over


I am being totally indecisive about front door colors.


I casually asked Huynh the other day what he was thinking in terms of color and he, rather quickly, said burgundy which had never crossed my mind.


At first I was skeptical since I thought that it would clash, or even blend in too much, with the brick. But now that I see this faux-paint job, I actually kind of like it.

I, on the other hand, always thought navy.


I tend to gravitate towards blues/cools when I am decorating. So we could go the complete opposite, pull a John and Sherry and go yellow.


I don’t know if I am brave enough for that! So we could keep it really basic and just add a new coat of brown.


But that’s not fun.

What I do know is that with this beautiful weather we are finally having, the front door make-over commences.

To-do:
  • Paint hardware
  • Paint front door
  • Find a bench
  • Revamp front door mat
  • Potted plants
  • Add a wreath