Huynh and I are always looking for little ways that we can update our little abode while saving our precious pennies for our upcoming nuptials. I love that this will always be our first house but that's not to say that I love everything about this house in the 'burbs. Case in point: the kitchen tile.
It's hard to tell from these pictures but the tile is actually not white; it's more of a light cream color bordered with a tile that has a continuous scroll with vines wrapped throughout. For some reason, this screams 80s to me though the house was built in the 2000s.


Last weekend, while Huynh was at a bachelor party, I got out a set of trusty tile removers (i.e. a flat head screwdriver and a mallet), cranked up the radio, and went to town. With tile shrapnel flying at you, you will want eye protection as well - learn from me.

And, after a couple of hours went from this:

To this:
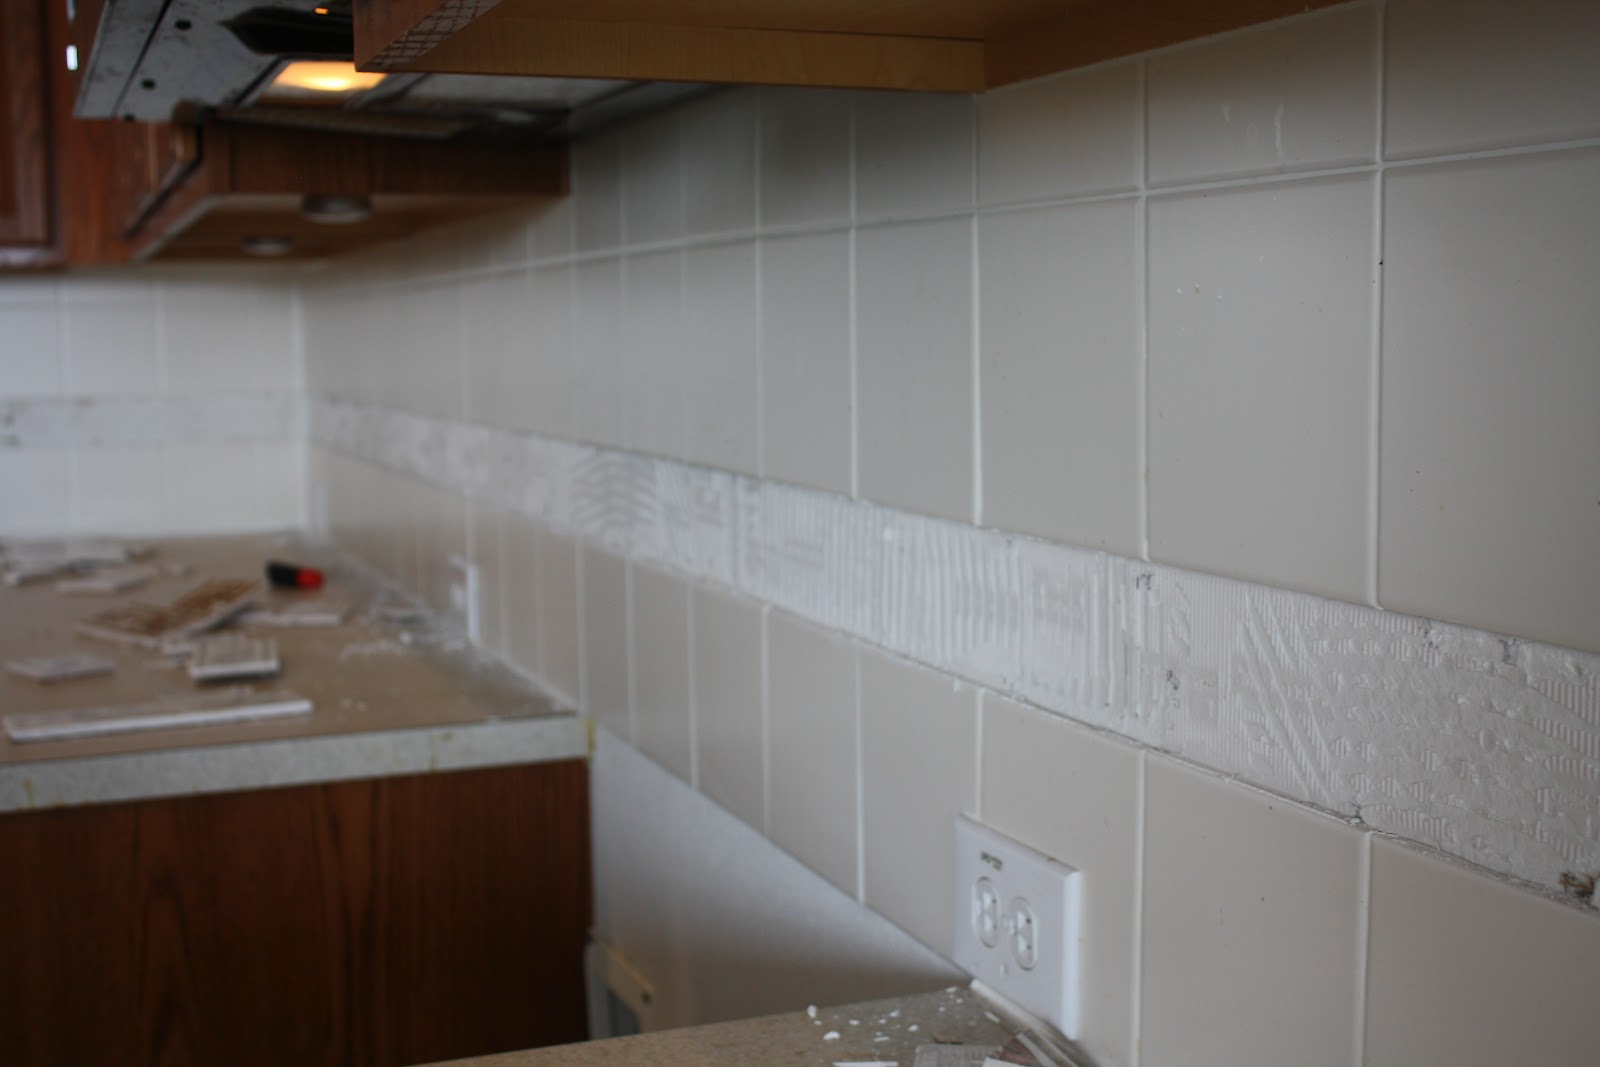
It was messy, dusty, required a lot of clean up but I knew it was going to be well worth it. As you can tell, we decided to not take out the main back splash tile - part the enormity of the project (that tile wraps around the kitchen where the border is only on this section of the kitchen) and part the desire to have nothing to do with cutting tile. Once I got all of the tile off the wall, off the counter, and out of the kitchen, I cleaned up a bit and kept trucking ahead.


Fast forward a few hours (and days) our back splash started to resemble a back splash again (sorry, these pictures were taken at night). I had gone to a local tile shop who recommended putting up the tile with liquid nails to save money on having to buy a large container of adhesive and only needing such a small amount but that failed epically. By this point it was Tuesday, Huynh was home, and I was frustrated with the oven still being in the center of the kitchen. Huynh had made the trip to Home Depot to buy grout and came home with a life saver - the grout he bought was also an adhesive. We were able to make use of the grout and put up all the tile in one night and still had half of the grout/adhesive left. The next night, we grouted - and ran out of grout. Another day and another trip to Home Depot, we had finally finished!


It took some elbow grease to get the tile spotless and free from grout haze but considering it was our first tile job, I think it turned out great! The mosaic we chose has some browns, blues, and reds to pull in the slate floors, cabinets, and walls. It all compliments each other so well - and I actually enjoy cleaning it. From start to finish, it took us all week to complete but in real time: two hours to demo, two hours to tile (plus 24 hour dry time) and two hours to grout (plus another 24 hour dry time); total: 6 hours of hands on work for a much welcome update.
No comments:
Post a Comment